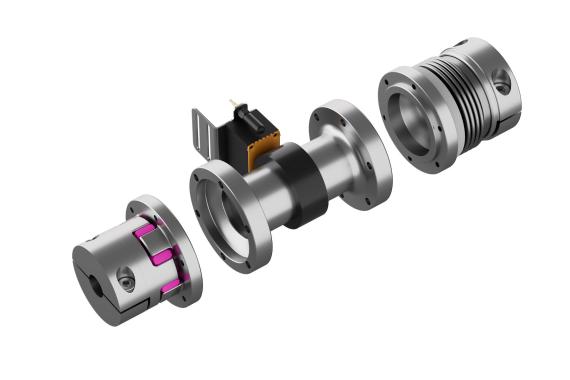
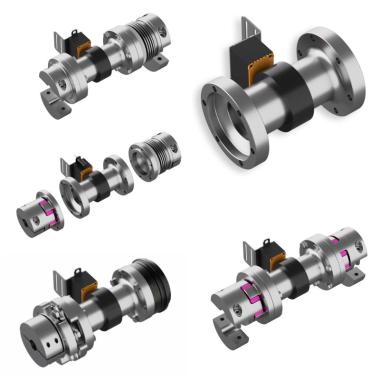
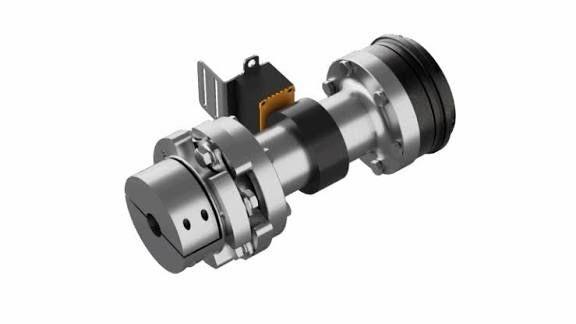
A coupling is a mechanical component used to connect two shafts together and transfer power while providing some degree of flexibility into the system, reducing shock loads and accommodating for inaccuracies in shaft alignment. They’re an essential component in many mechanical systems and manufacturing environments.
Typically, maintenance and reliability teams must shutdown the plant, disassemble, and perform a thorough visual inspection of a coupling to look for signs of mechanical wear. Having to disrupt production to perform these inspections is made worse by the number of manhours it takes per coupling. Not to mention, couplings are found in good shape all the time, only to have defects introduced to them during reassembly.
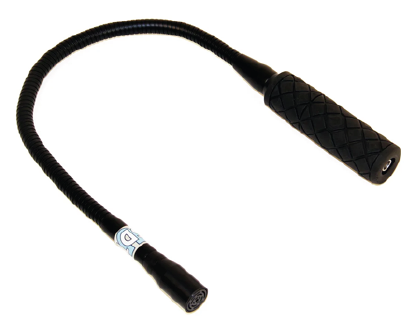
With airborne ultrasound maintenance technicians are able to perform simple inspections. Using a flexible wand sensor, airborne ultrasound signals can be captured through airgaps in guarding.
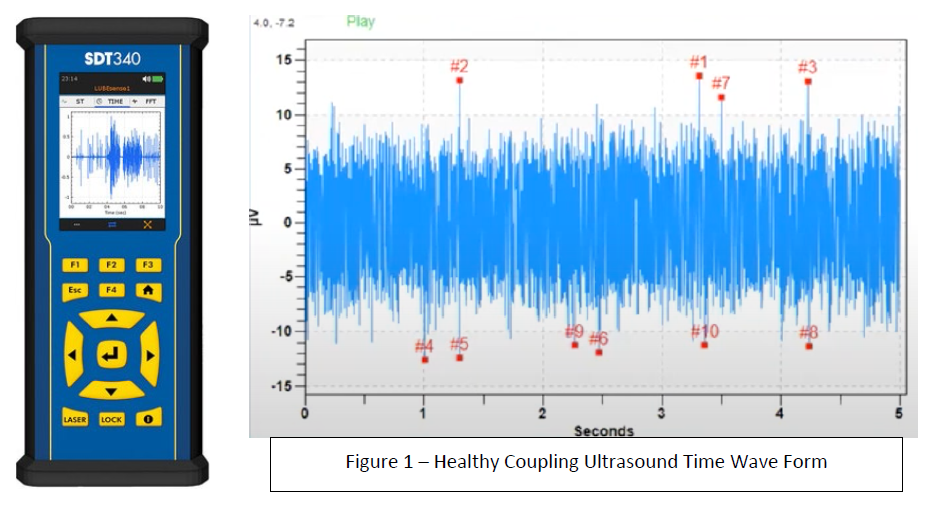
Below are some examples of airborne ultrasound signals that SDT Ultrasound Solutions Service Technicians captured while performing a condition monitoring route at a Paper Mill. To capture the data, they used an SDT340 Ultrasound Data Collector, a Flexible Wand Sensor, and UAS3 – Ultrasound Signal Analysis Software.
Figure 1 is an airborne ultrasound signal captured of a healthy coupling. This coupling is emitting very low energy, and has a stable signal with no repeated impacting.
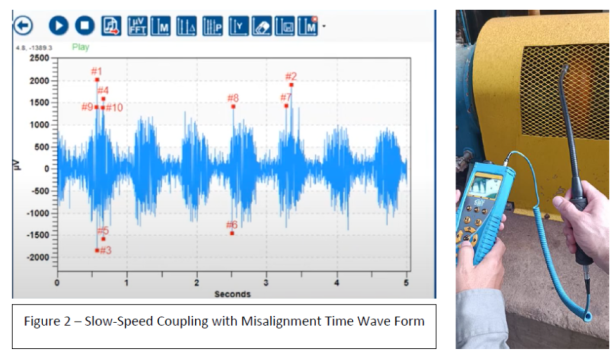
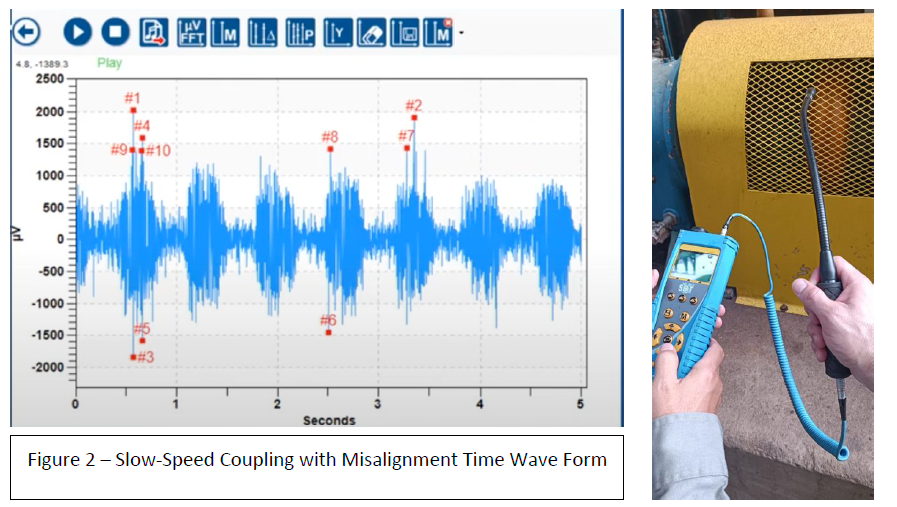
Figure 2 is an ultrasound signal captured of a slow-speed coupling that is misaligned. Every rotation there is a large peak. There is noticeable difference in the μV between the two ultrasound time wave forms.
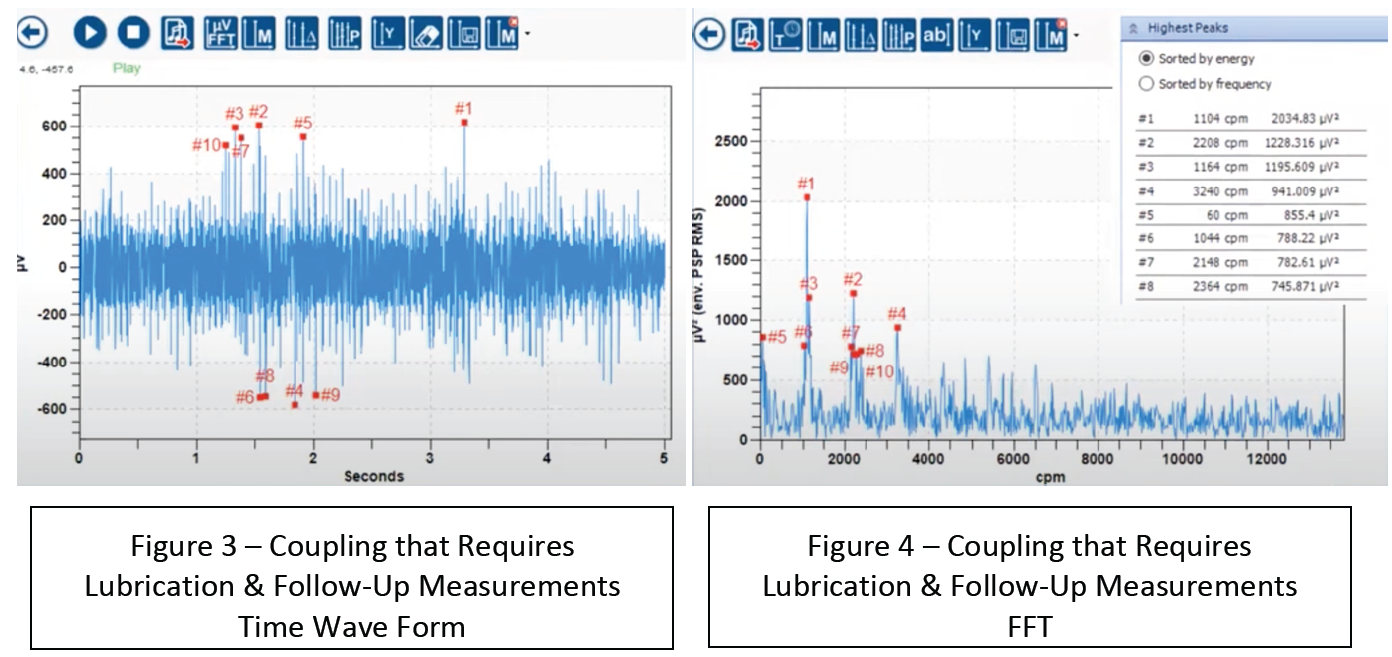
In figures 3 & 4, a coupling with an obvious lubrication error can be observed. But by examining the ultrasound spectrum of this coupling, there is an indication of repeated impacting at run speed. In this case, SDT’s recommendation would be to lubricate the coupling and then perform follow up measurements to confirm if the repeated impacting signal is still strong enough to justify further inspection.
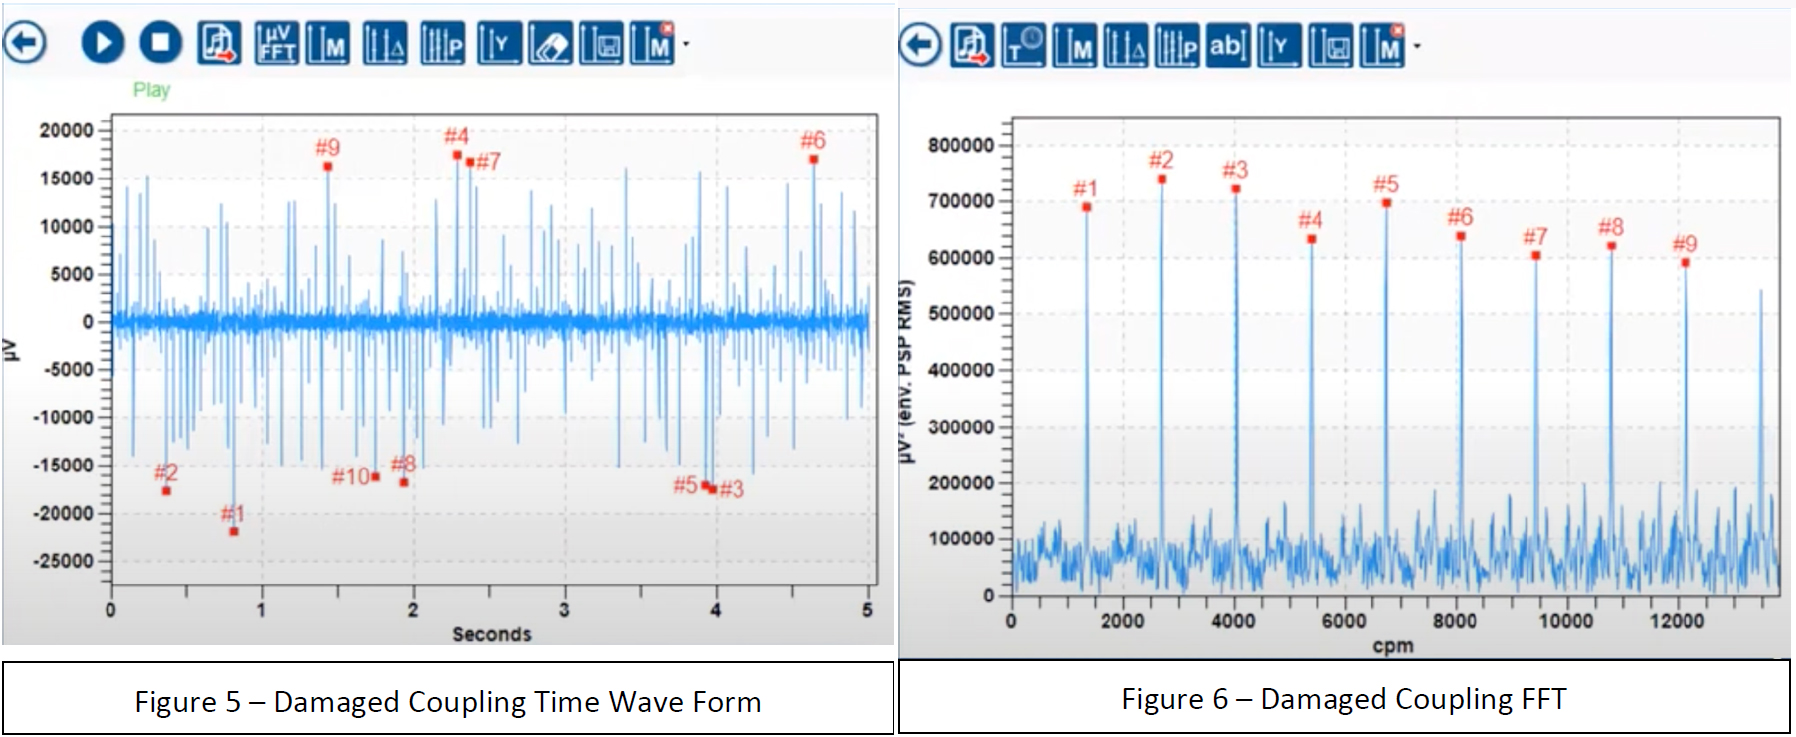
In figures 4 & 5, a severely damaged coupling was captured. There are extremely high & clear peaks at running speed seen in the FFT, and a noticeable amount of severe impacting seen in the time wave form.
As seen in the data documented in this case study, it can be concluded that ultrasound is an effective method for inspecting couplings non-intrusively, during plant operations. When a coupling produces a smooth and stable ultrasound signal, it can be safely assumed that it is operating in a healthy state.
Many maintenance and reliability teams generate PM’s to be executed during plant shutdowns that involve disassembly and visual inspection of couplings. How much time could be saved if PMs were only generated for couplings that failed an ultrasound inspection?


 Français